Your cart
There are no more items in your cart


We love the forest. We love nature. We have no doubt that wood is the best building material. However, the resources are limited. That's why, as Moonwood, we try to use wood wisely. The 'zero waste' principle speaks for itself: nothing should be wasted. We therefore use the woodworking parts that are left over to create houses. Homes for our winged friends. The nesting boxes are ready and soon, with the help of our preschoolers, they will be hung up and.
Workshops in kindergartens will take place in early November. In the following weeks we hope to conduct more of them. Ornithologists Małgorzata Bagińska and Urban Baginski will help the cause. They will tell us a little bit about birds, explain to the preschoolers how to make their own nest boxes and how they should be constructed to serve their purpose.
Unfortunately, we will not be able to invite everyone to the workshop. However, if you would like to make a nest box with your children on Saturday morning, we will be more than happy to help. Let's start with the box itself. It's best to make it from boards, hollow tree trunks or waterproof plywood. The roof should be sloping to allow rain or snow to run off.
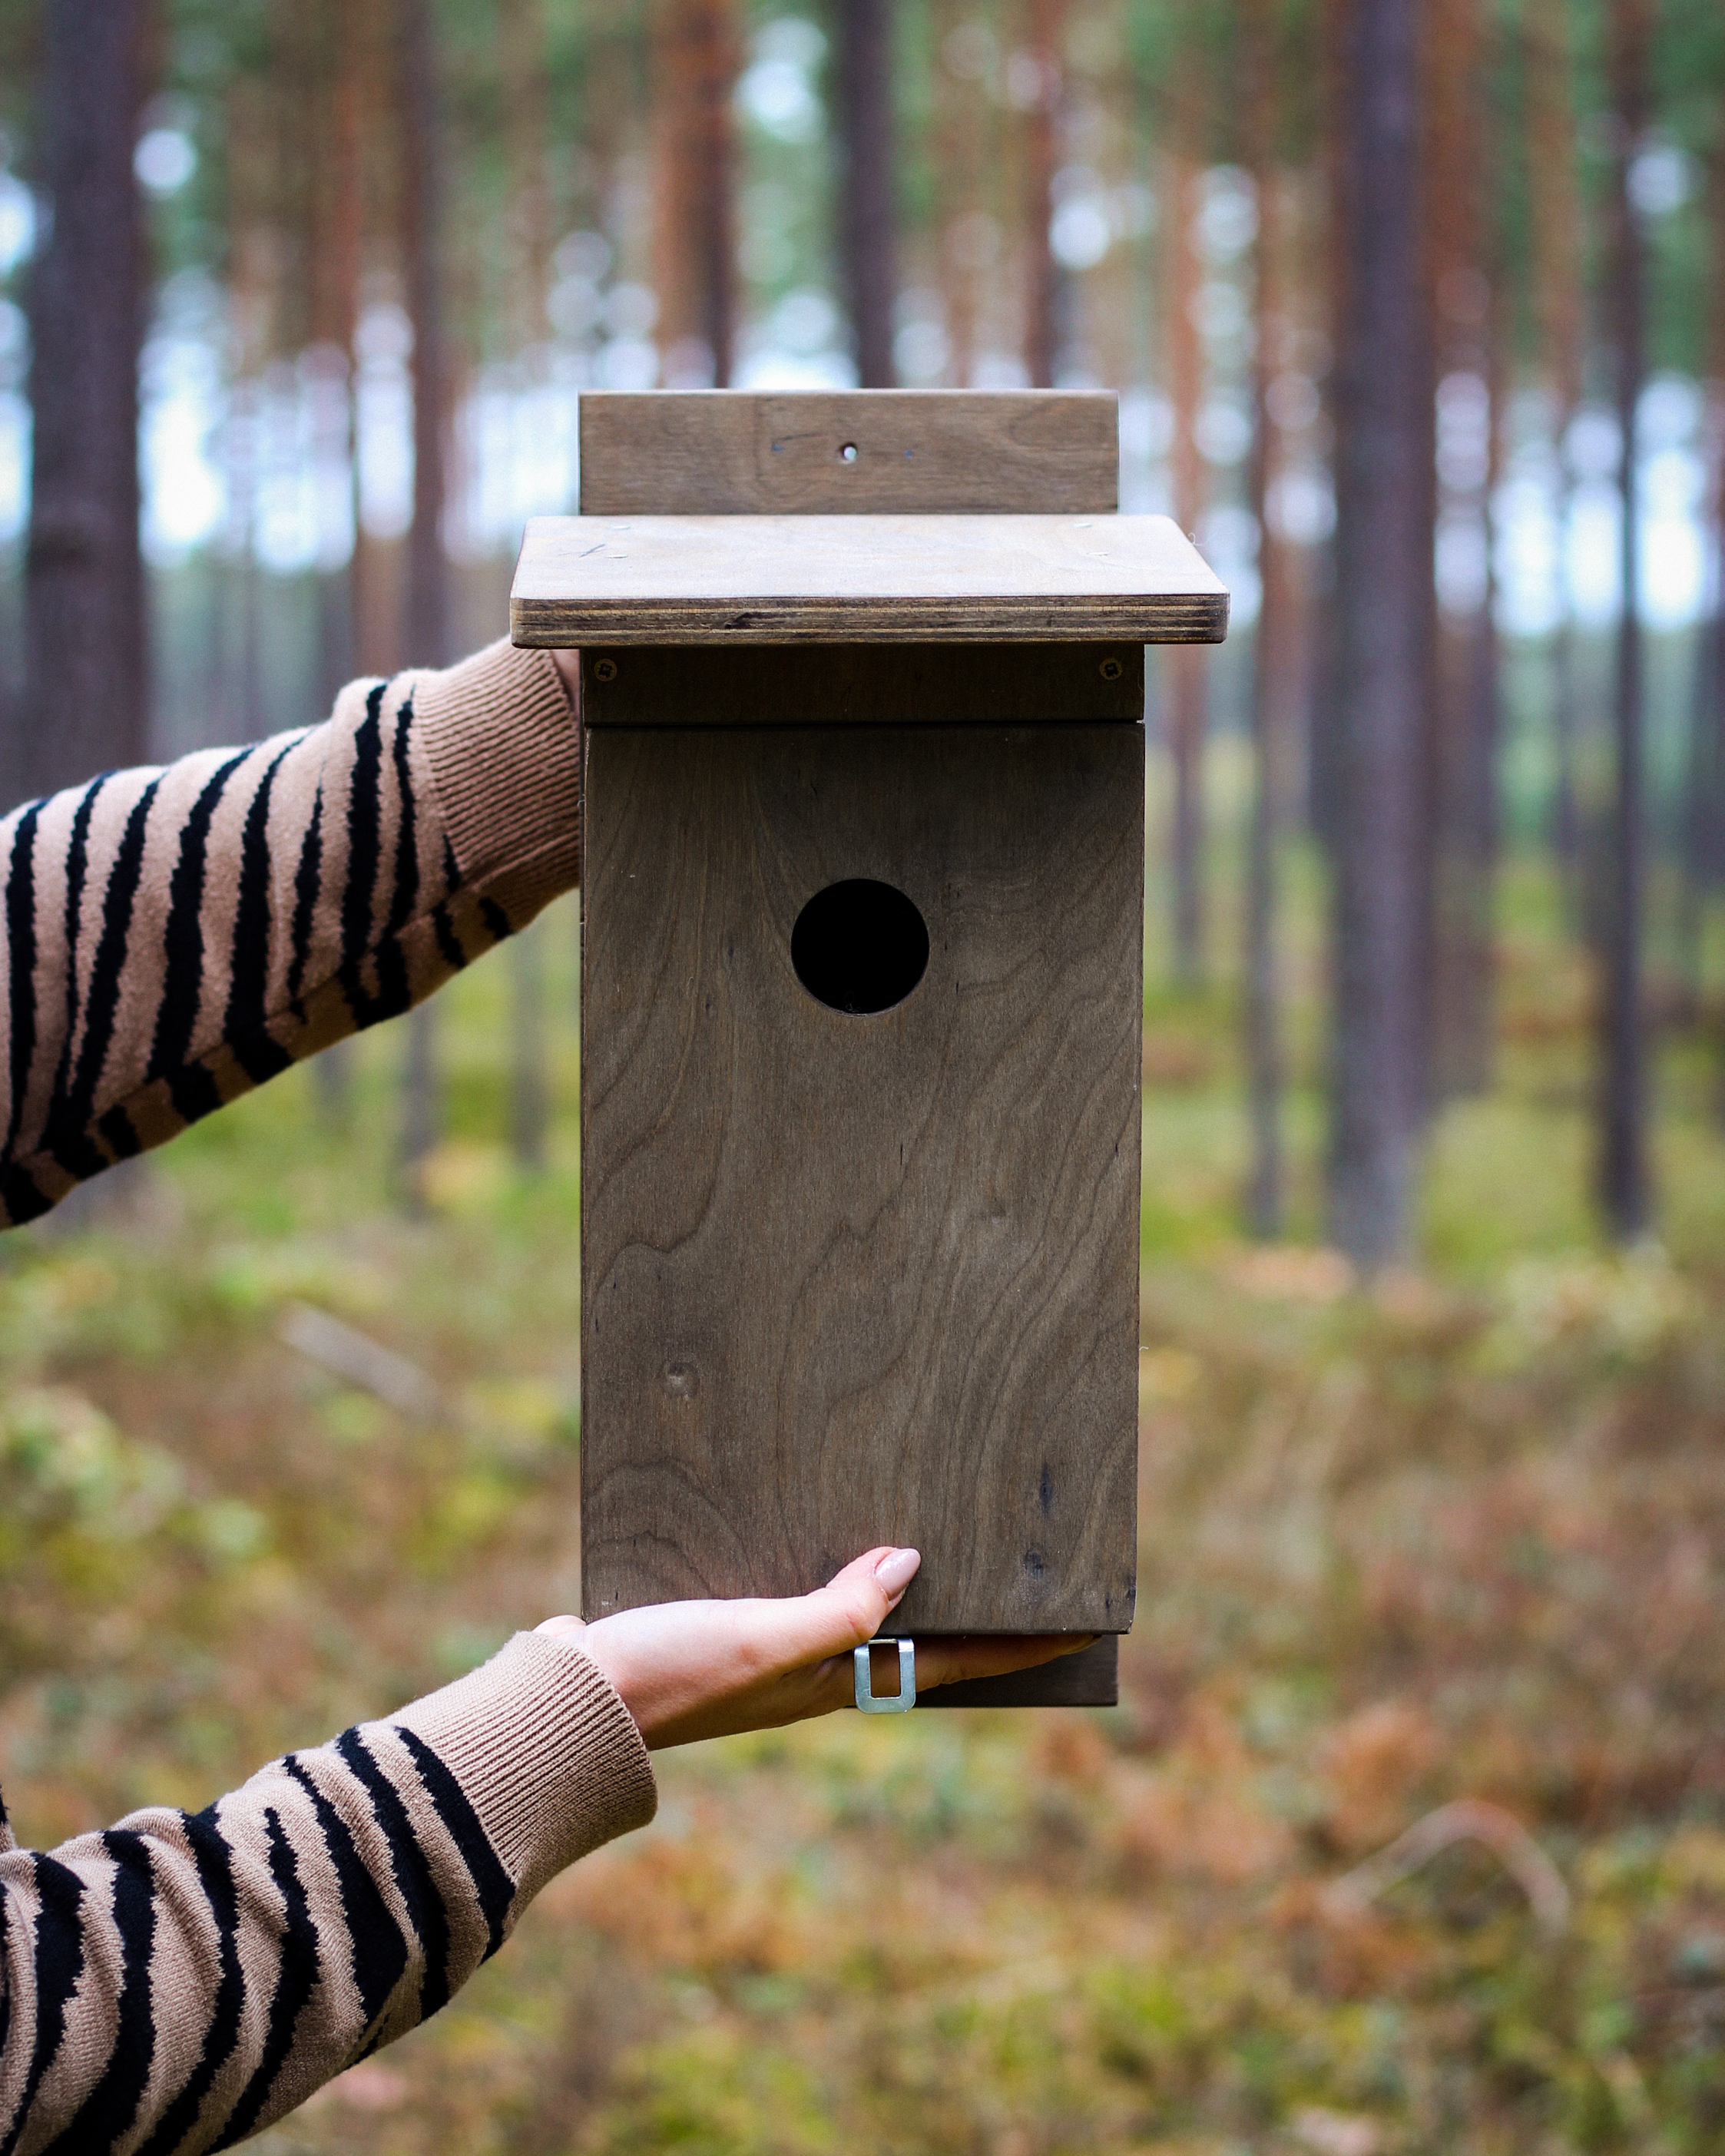
Now let's get to the distance from the inlet opening to the bottom of the box. The bigger it is, the harder it is for predators to get to the eggs or chicks. The front wall should be about 4 cm thick. To make it more difficult for predators to get inside, you can install a kind of a sleeve around the inlet, increasing the wall thickness to 6 cm.
It is also good to think about opening the bottom of the box. Use, for example, a hinge lock This makes it easy to carry out autumn and winter cleaning.
The box is ready. If the inlet has a diameter of 28 mm, it may be chosen by a blue tit. If the inlet is 33 mm there is a chance that great tits, tree sparrows, sparrows, flycatchers, blue tits or thrushes will nest there. Now it's time to choose a site. Ideally, it should be quiet, away from crowds of people. Blend the box into the surroundings, leaving it in natural wood colours. You can either fix it on a single growing tree or where the trees grow thicker.Alternatively you can even attach it to a building. Then, however, remember to choose a wall which is shaded around midday. Avoid directions from which the wind blows and gusts strike most often, i.e. south and west.
Finally, some more advice:
• hang the box straight. If you can't find a perfectly vertical trunk, the entrance to the box should be slanted rather downwards than upwards;
• the nesting box should be mounted at least 2 metres high;
• choose aluminium nails - they do not corrode and do not damage the tree.
Choose aluminium nails for mounting - they do not corrode or damage the tree.
Nesting boxes can be placed throughout the whole year, preferably from autumn to the end of winter. After the nesting season it is worth cleaning the box (use disposable gloves!). According to the law the deadline for cleaning is from 16th October to the end of February.
And that's it! The only thing left now is to take out binoculars, get yourself a bird atlas and wait for our winged friends.
We invite you to follow our activity in social media. Instagram / Facebook / Pinterest